Migrating Azure Pipelines from Classic to YAML
🌲 CI/CD Pipelines as Code
If you have started using Azure DevOps several years ago (maybe its name was Visual Studio Team Services by then), then you are probably still using the Classic Build and Release pipelines to fulfill your CI/CD needs. There is nothing wrong with these Classic Pipelines but the trend over the years has been to follow the Everything as Code approach, including CI/CD Pipelines as Code, and Azure Pipelines also supports it by using YAML Pipelines.
There are obvious advantages in having CI/CD Pipelines as Code, in which its definitions live in a source control repo as YAML text files:
- we can use the same code flow for CI/CD, for example using pull requests to make a change in the pipeline and require a review from a specific group of people;
- it’s easier to check the history of changes
- we can use the same tooling we are used for source control
- it’s easier to reuse and share pipelines common blocks
- it’s easier to collaborate on pipeline definitions
Over the last few days I have been working in a migration to transform Classic Build and Release pipelines into YAML Pipelines.
🤼♂️ Unify Build and Release Pipelines
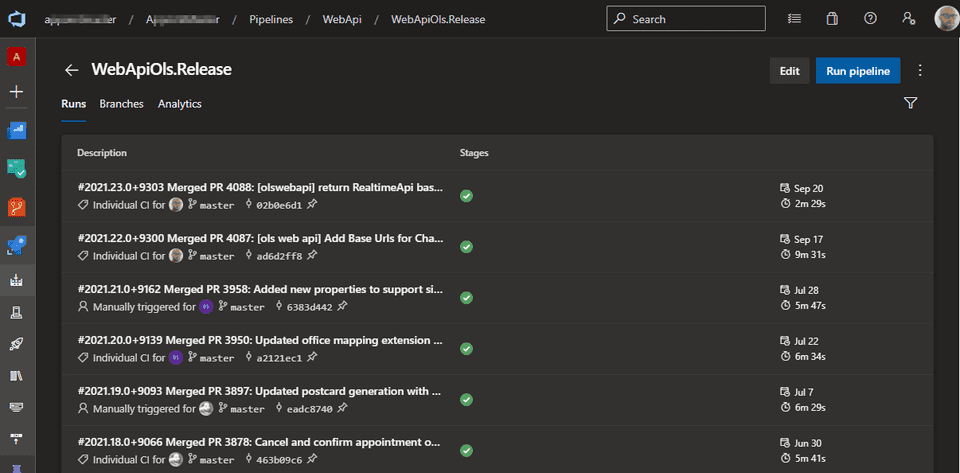
In the Classic approach the Build and the Release are two different pipelines. The Classic Build doesn’t support multi stages and typically finishes by publishing the build output artifacts. Following is an example of a Classic Build pipeline.
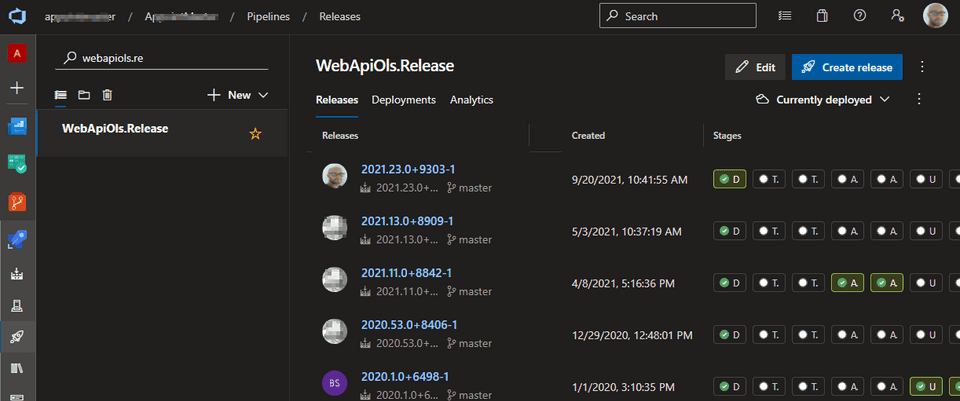
The build artifacts are then consumed by a classic Release pipeline where we have the different stages (DEV, QA, PROD, etc.) to where we want to deploy. Following is an example of a Classic Release pipeline.
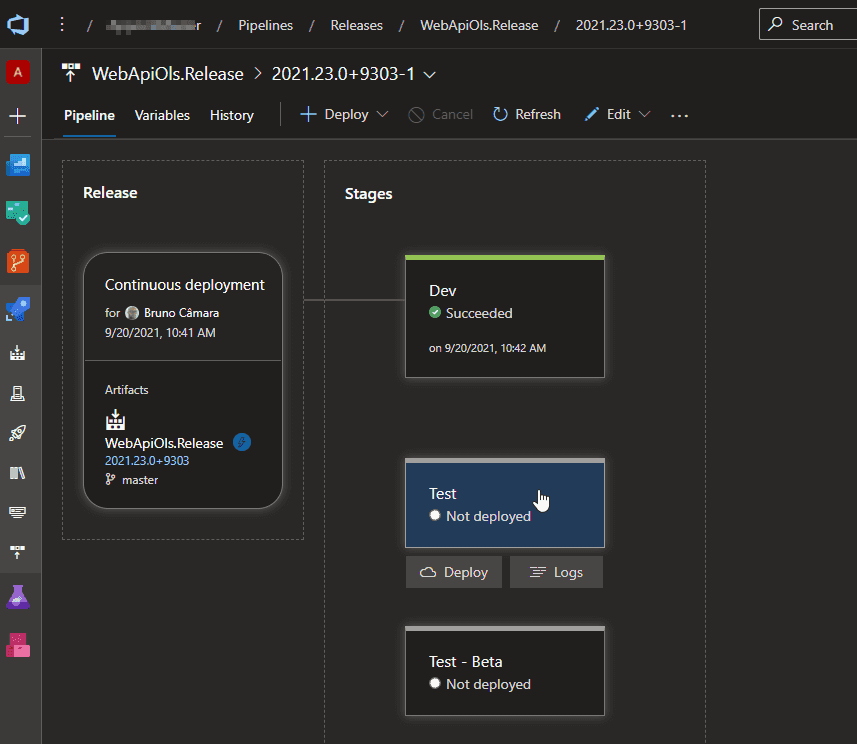
The team was not using any dependency between classic release stages, and the deployments to all stages (except to DEV) were being triggered manually, as we can see in the image below.
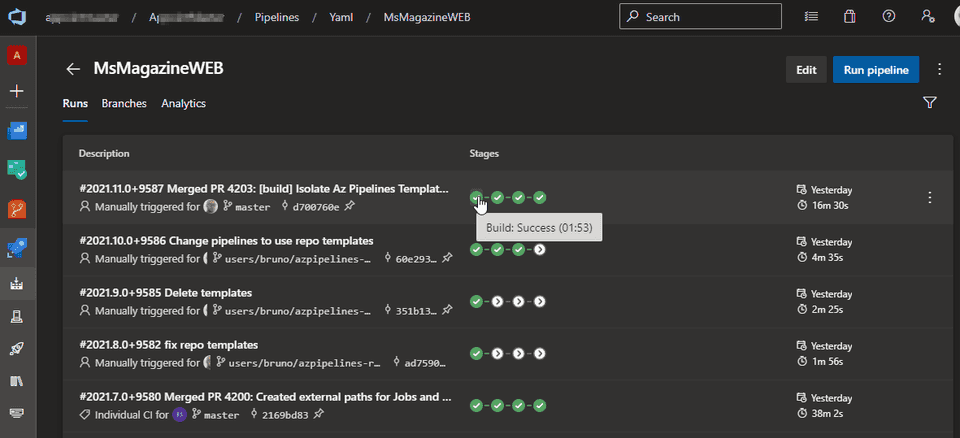
With the YAML approach we can have multi stages which allows us to have in a single pipeline both the Build (as the first stage) and each of the deployment stages (DEV, QA, PROD. etc.). The main difference is that in the YAML approach we can have just a pipeline definition instead of two in classic (Build definition and Release definition).
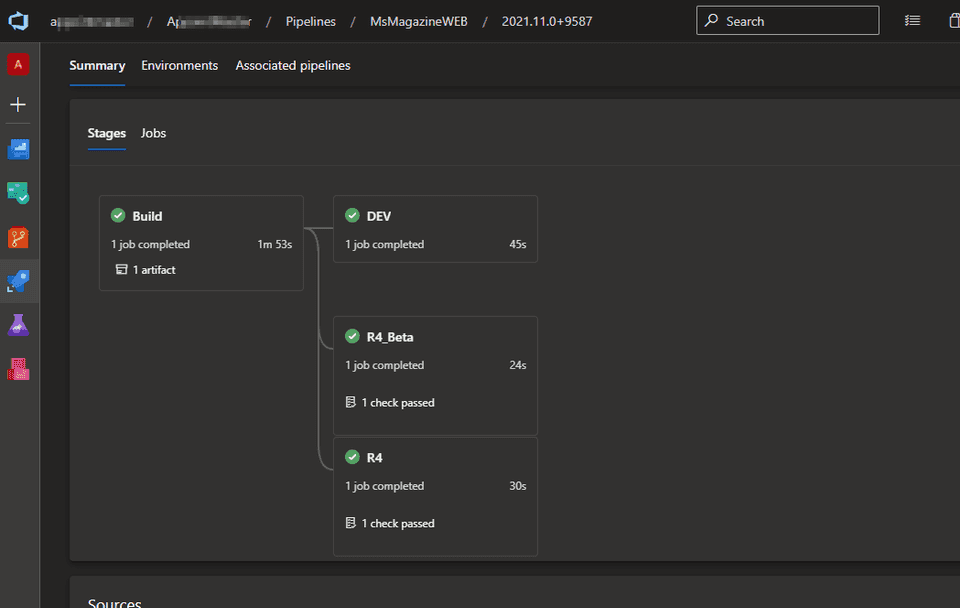
We can also specify dependencies between stages, specifying that each deployment stage depends on the build stage, as we can see in the image below.
🏗️ Convert Task Groups into Templates
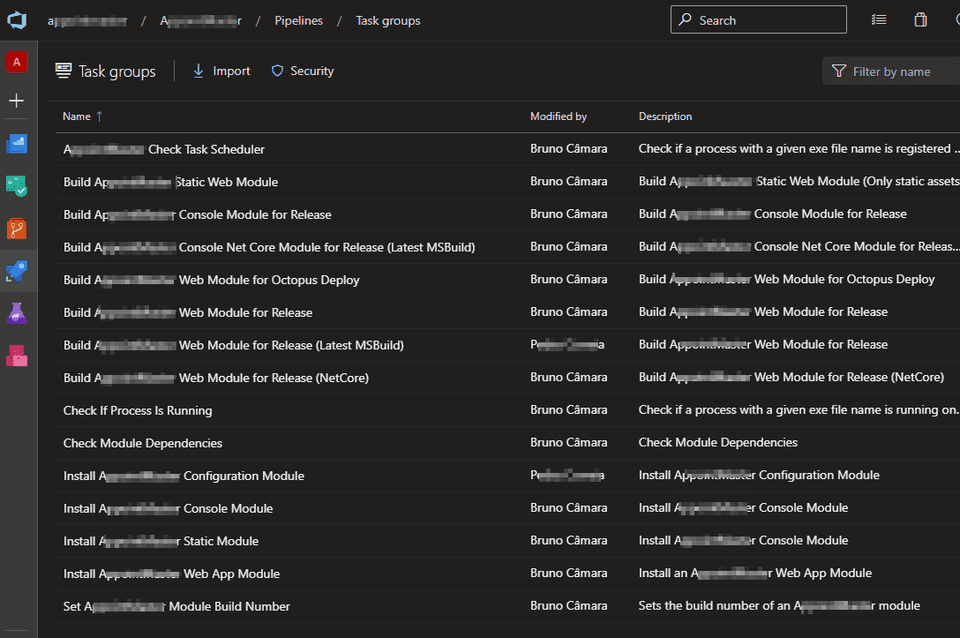
Using the Classic approach, the team has built several Task Groups over the years, which encapsulate sequences of tasks to run in a classic build or release pipeline.
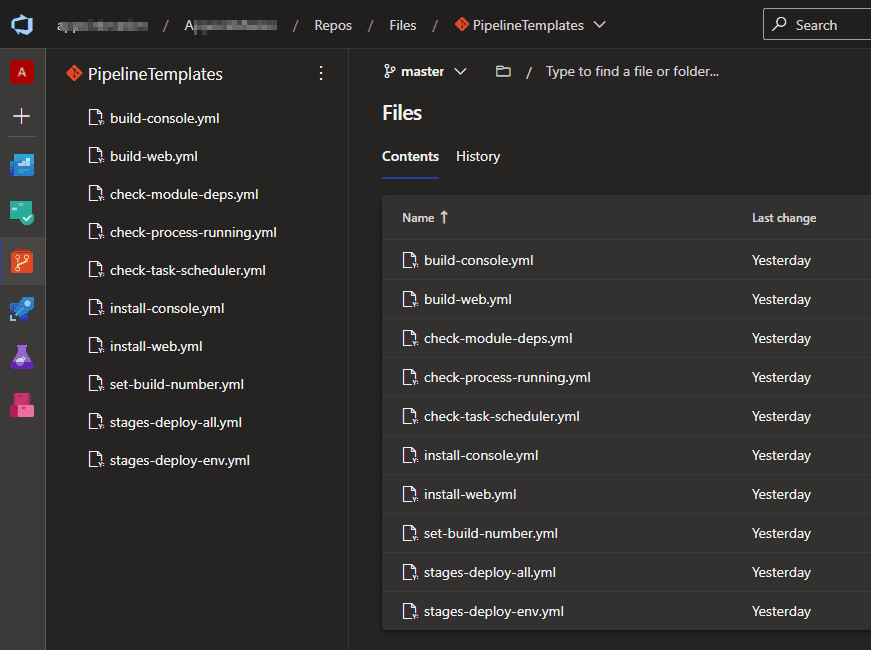
Using the YAML approach these task groups were converted into YAML templates. We have decided also to use an isolated git repository to host all these templates to allow to reuse them in different projects and/or repos.
The motivation to use YAML templates is the same of Task Groups: encapsulate common logic in templates to be able to use it in several pipeline definitions (we want pipeline definitions to be very thin, delegating the heavy work to templates).
💻 Use Environments in YAML
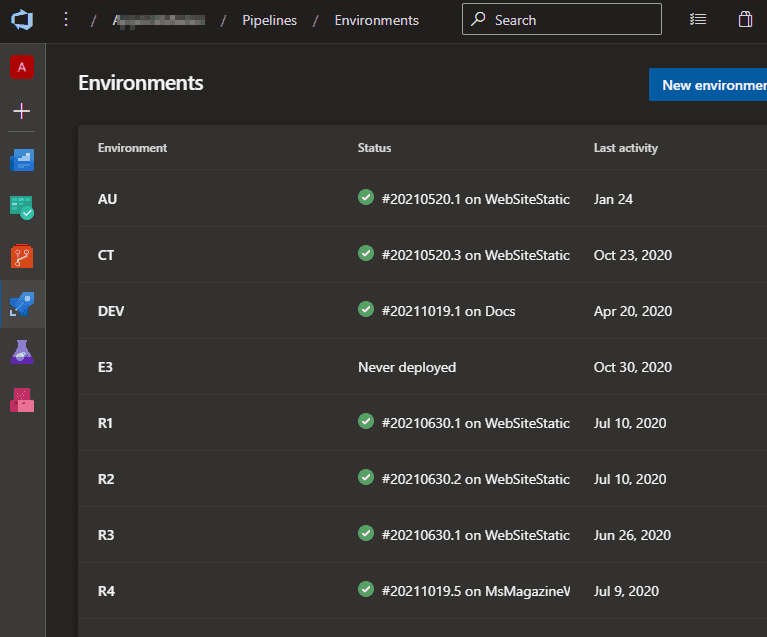
In the classic approach the team was mostly relying on msdeploy to deploy packages to VMs. With YAML Pipelines we can use the concept of Environment, which is a collection of resources that we can target easily with Deployments from a Pipeline.
We just need to add resources to environments (VMs in this scenario) and specify which checks should be performed.
Adding a VM resource to an environment means that this VM needs to have the Azure Pipeline Agent running on that VM, which means that is much easier to perform some tasks on the target server (in the classic approach these tasks were being performed via msdeploy which is not easy to configure to make it work correctly when interacting remotely from the the build server).
💂 Use Approvals instead of Manual Trigger Deployments
As mentioned earlier, in the classic approach, the team was using Manual Trigger Deployments. As I am writing this post, YAML Pipelines don’t support Manual Trigger Deployments, despite the fact that is a feature requested by many for a long time.
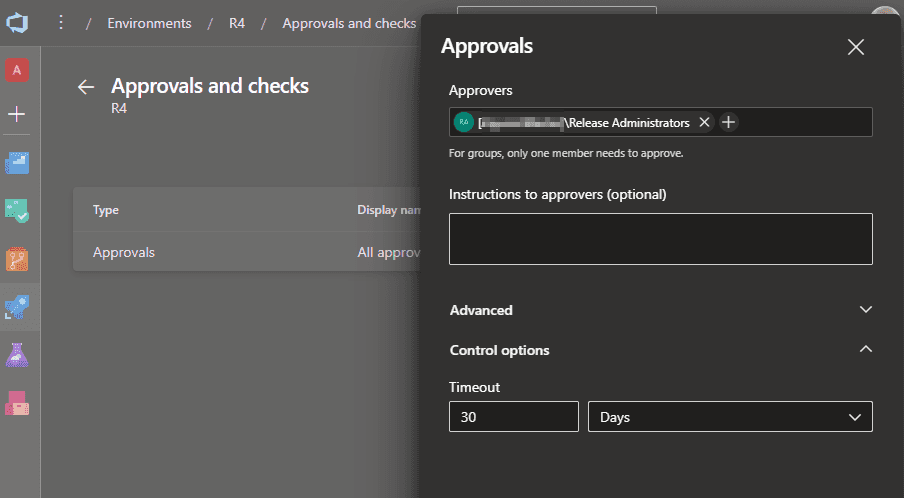
The best workaround to simulate a manual trigger deployment is to use Environment Approval checks with a timeout.
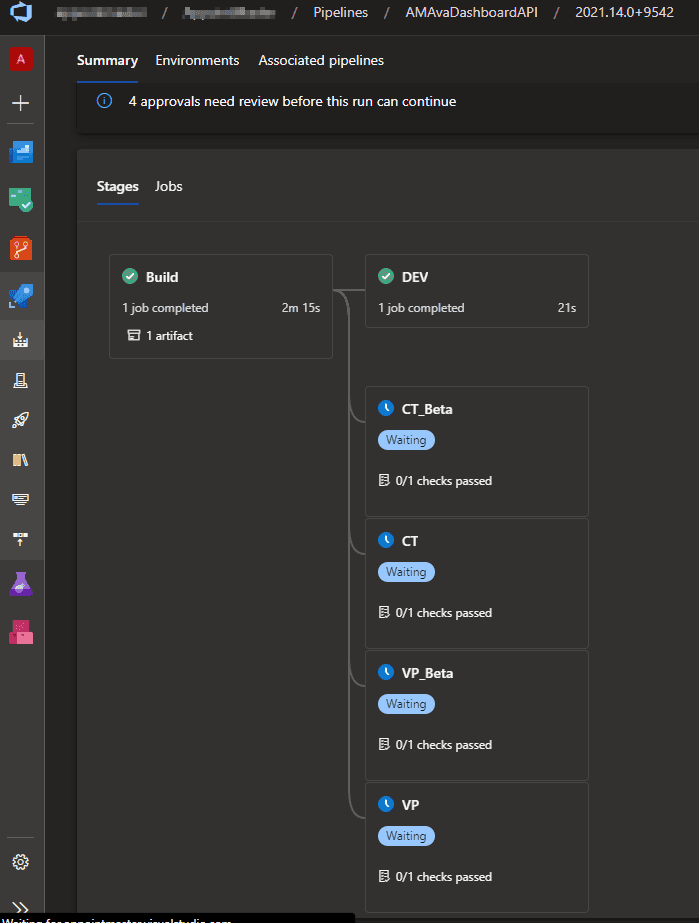
However, be aware that the stage will be in a Waiting state while the approval is pending.
The only drawback with this workaround is that the whole pipeline is shown as Queued while not all stages complete (and also that that the time elapsed is still counting), which might not reflect exactly what the team wants.
If the approval times out, the stage is skipped, and the user has the option to rerun the stage manually. You can play with the timeout value to accommodate your team preference of showing the Pipeline as “Queued” or “Completed” (even if some stages were skipped).
📧 Stage Completed Notification
Finally, some team members are used to be notified when a classic deployment is completed.
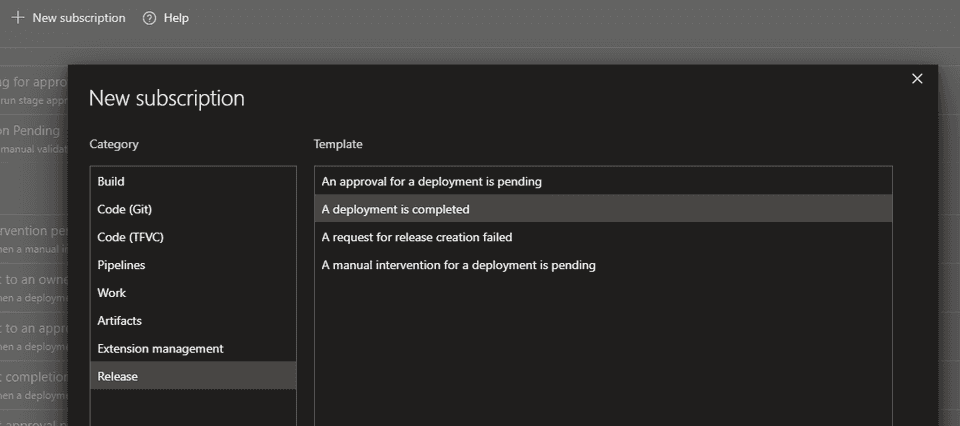
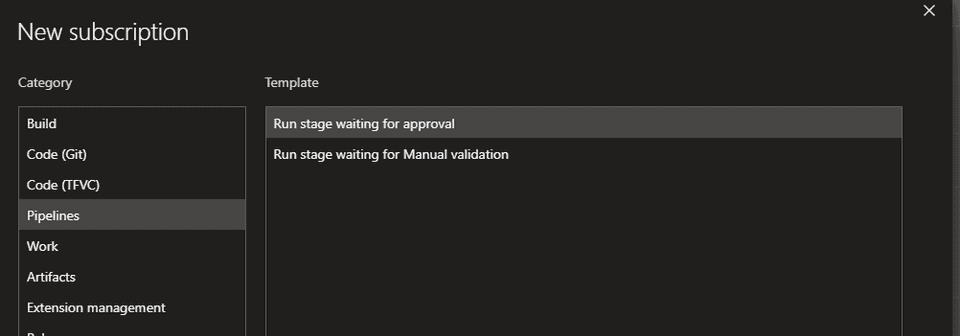
However, for YAML Pipelines, in the Notifications page, we have only available the notifications that a stage is waiting for an approval or manual validation.
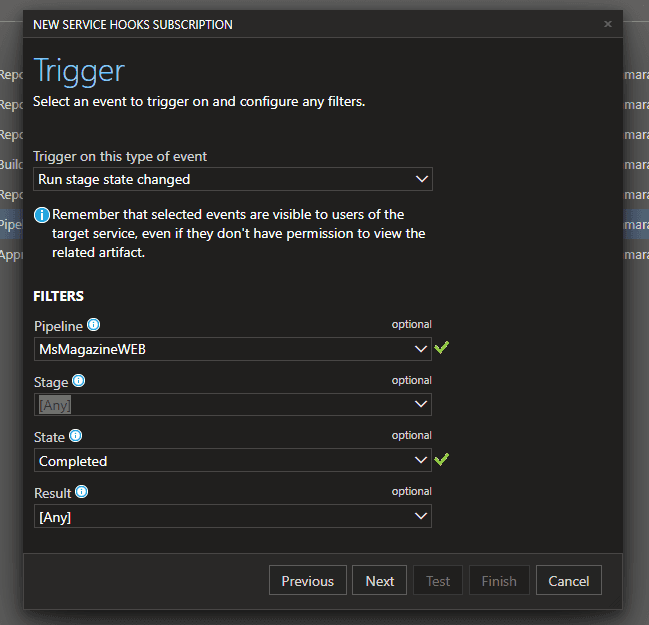
I hope the events of stage state change will be available in the future. Nevertheless it’s possible to have this notification via Service Hooks.
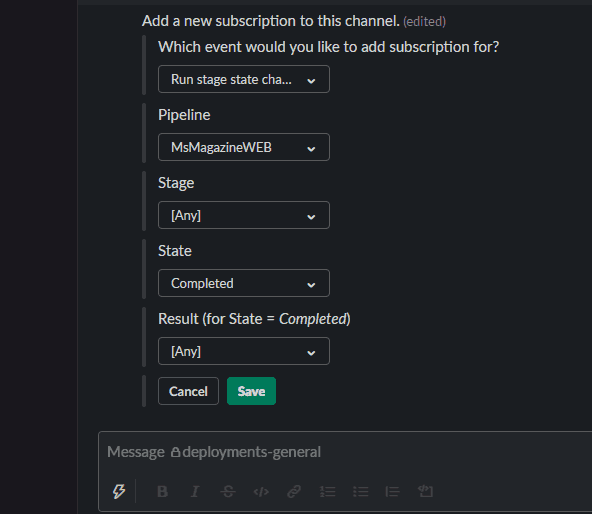
For now, and since the team was using Slack, we have configured Azure Pipelines Slack App to post a slack message when any stage is completed.
That’s all for now.
